The Art of Portrait Photography: What I know / Tips and Techniques
Greetings beloved,
Today, I’m going to speak briefly about the world of portrait photography. This will be the first of many visits to this avenue, and I thank you all for taking the time to sit back and check out my self proclaimed TED Talk.
Here I will attempt to break down my experiences with the art form, share a a few jewels of knowledge, and share a series of techniques I learned that can help step up your portrait game. This discussion will revolve around the nuances of studio photography, with a special emphasis on the different types of lighting: the dramatic strobe, the steady continuous, and the G.O.A.T of lighting: natural light.
Let me take you on a trip down memory lane, to the very genesis of my fascination with visual storytelling. As a youth, I found myself inexplicably drawn to a print that adorned the walls of my grandmother's living room. It was a piece by Norman Rockwell, titled "Before the Shot". This painting, a visual narrative of a young boy in a doctor's office, was a story frozen in time, and it had me utterly captivated. If I’m being honest I didn’t quite understand why my Grandmother had this in her living room. I always wondered “Why did she have this painting of this little white kid with his whole butt out?!!” Time went by and I would often stop and gaze at this painting, it become more interesting when I looked at it. My young mind wasn’t at the level to technically deconstruct it but something about that painting drew me in. Was it the lighting? Was it the subjects? Colors? I guess all of the above, It was a hype painting.
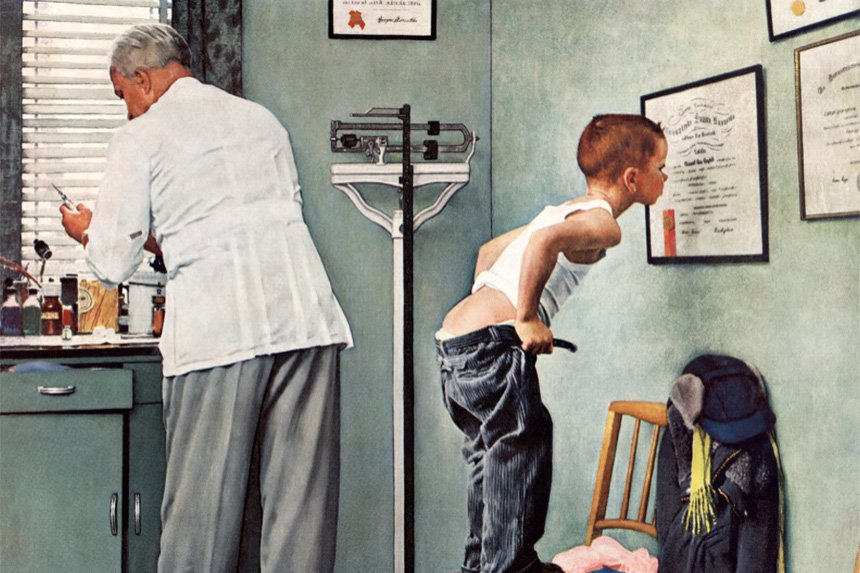
Before The Shot: Norman Rockwell
“If I’m being honest I didn’t quite understand why my Grandmother had this in her living room. I always wondered “Why did she have this painting of this little white kid with his whole butt out?!!”
Fast forward to the present day, and I find myself deeply entrenched in the world of visual storytelling. Portrait photography, for me, transcends the mere act of capturing a face. It's about encapsulating the spirit, the personality, the very essence of the subject. These are the things Rockwell did.
I am a self taught photographer, well not entirely. I also went to Youtube University (not a real place, so don’t @ me if you can’t find it.). Seriously speaking though, Youtube, and Skillshare have been great resources for learning techniques as well as a few books I tapped into. I’ll talk about that stuff in a future blog post.
One of the most formidable challenges in this art form is ensuring that the images are a true reflection of the subject. It's a task that extends beyond “just” capturing what's in front of the lens. If you can't establish a genuine connection with the subject, your images are likely to lack depth and emotion. But when someone looks at a portrait and says, "Damn, that’s shi… !" (kidding) “Damn, that looks like me.” - that's the moment you know you've truly hit the mark.
So, are you interested in some tips from my own journey? I won’t get too technical here and will mostly speak about simple concepts for everyone to follow. Here's what I've learned through my experiences:
THE TEN SHOT COMMANDMENTS…WHUT!
1. Keep Shooting and Experimenting.
Light is the lifeblood of photography. Experiment with it, play around with it. Observe how it alters the mood, the atmosphere. Try out different settings on your camera, and find the combination that works best for you.
2. Connect with Your Subject.
Truthfully this should be number 1 but we are here now so make them feel like they're an integral part of the process. Give them a glimpse of the magic that happens behind the scenes. This approach not only puts people at ease but also ensures a smoother flow during the session. I've found it particularly helpful to involve my subjects in creating mood boards. This transforms a potentially nerve-wracking experience into a collaborative endeavor.

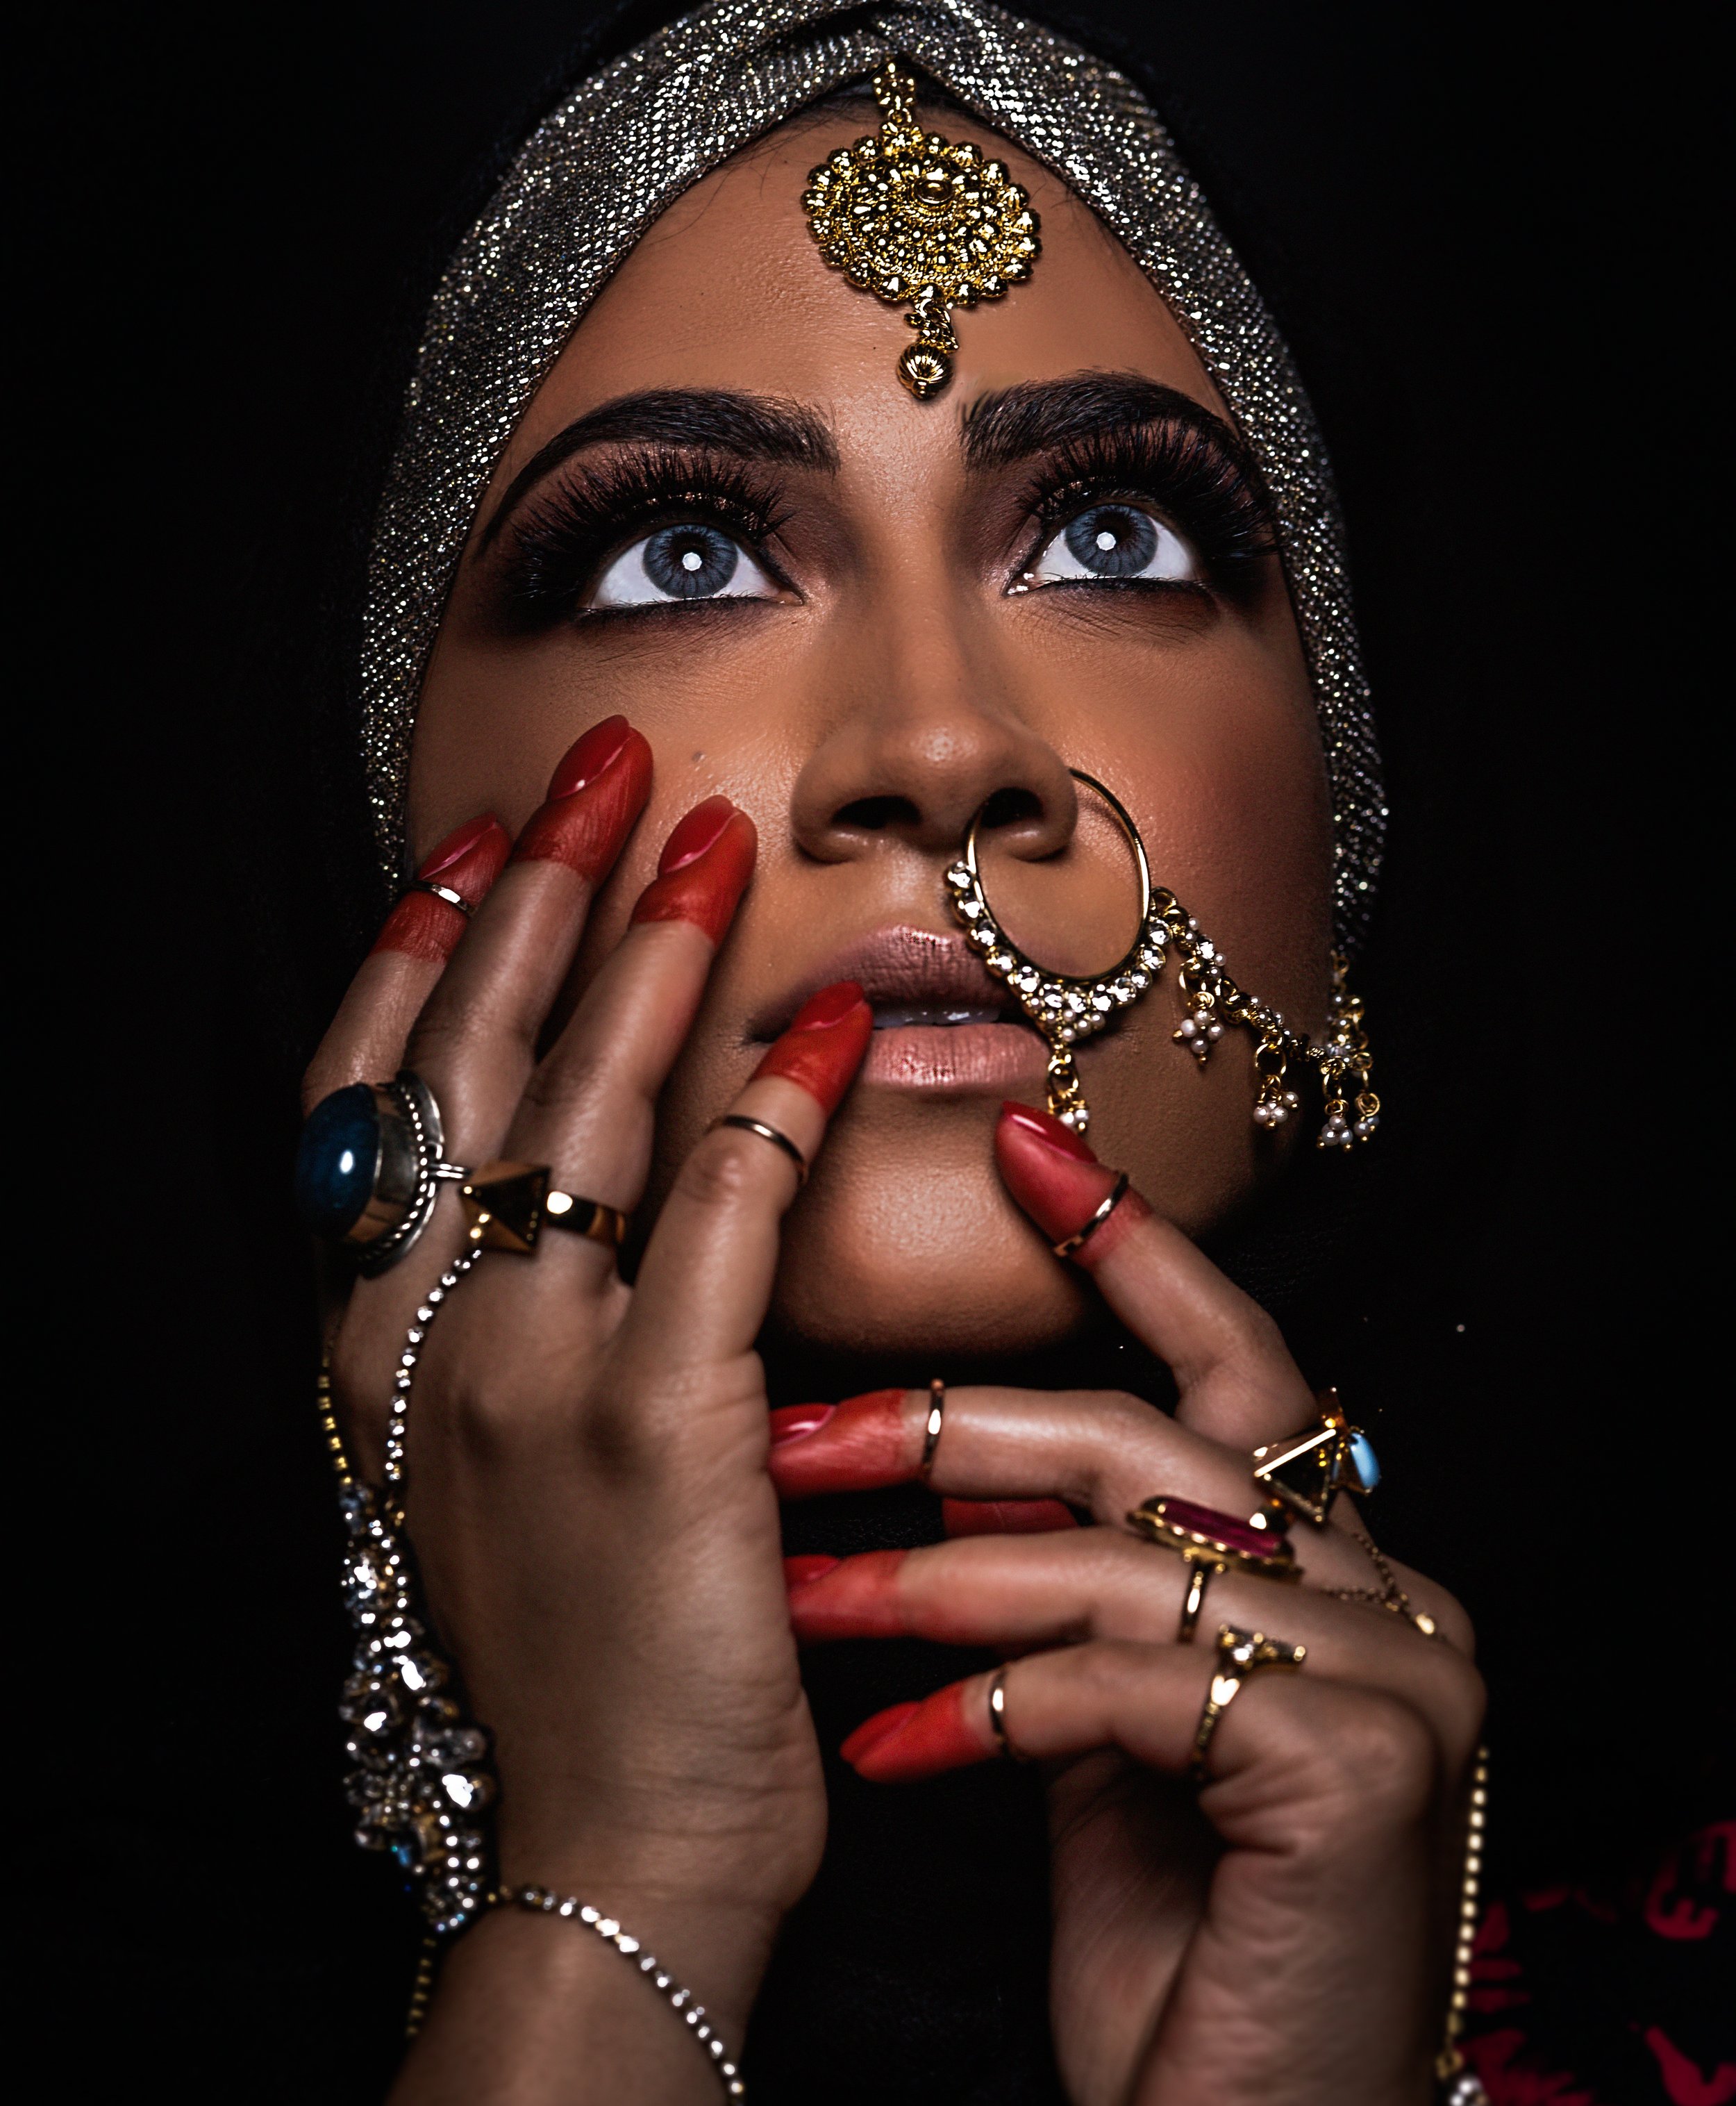
A Passer By: A moment in between a shot with Dori
The most rewarding aspect of this art form? The opportunity to connect with people. Being able to create and capture these special moments - that's what makes all the hard work worthwhile.
3. Understand Your Lighting.
Each type of light - natural, strobe, continuous - brings a unique flavor to the table. Natural light, especially on an overcast day, reigns supreme, providing a balanced and detailed illumination. Strobe lighting offers clarity and detail, while continuous light imparts a soft, film-like quality when shooting digital.
4. Use the Golden Hour.
The golden hour, which occurs shortly after sunrise or before sunset, is a prime time for natural light photography. During this period, the sun is low in the sky, producing a soft, diffused light that can add a warm, golden tint to your photos. To make the most of the golden hour:
- Plan your shoot ahead of time. Know when the golden hour occurs and choose a location that's well-suited to the direction of the light.
- Experiment with different angles. The low angle of the sun can create interesting shadows and highlights.

5. Find Shade.
If you're shooting in the middle of the day when the sun is at its brightest, finding shade can help to soften the light and reduce harsh shadows on your subject's face. Here's how to use shade effectively:
- Look for open shade, such as the shadow of a building or tree. This can provide a more even and flattering light.
- Be aware of the color of the shade. Different surfaces can reflect color onto your subject, which can affect the overall color balance of your photo.
6. Use a Reflector.
A reflector can help to bounce light onto your subject, which can help to fill in shadows and create more even lighting. Here's how to use a reflector:
- Choose the right size and color of reflector for your needs. A larger reflector will spread the light out more, while a smaller one will give you more focused light. Silver reflectors will give you a cooler light, while gold ones will give you a warmer light.
- Position the reflector so that it bounces the light onto your subject in a flattering way. You may need to experiment with different angles to get the best result.
- If you're working alone, consider using a reflector stand or asking your subject to hold the reflector.
*If you don’t have one trust me it’s all good. Alternatively, you could use a white illustration board or any large white surface.
7. Position Your Subject.
The way your subject is positioned in relation to the light can have a big impact on how they look in the photo.
- If the light is coming from the side, it can create interesting shadows and highlights that add depth to your subject's face.
- If the light is in front of your subject, it can create a flat lighting effect that's very flattering for portraits.
- Use your environment to create shadows, or interesting foreground elements.


8. Adjust Your Camera Settings.
Depending on the lighting conditions, you may need to adjust your camera settings. Here's how:
- If the light is low, you may need to increase your ISO to make your camera more sensitive to light. Just be aware that a higher ISO can also increase the amount of noise in your photo.
- If the light is very bright, you may need to decrease your shutter speed to let in less light. Just be careful not to go too low, or you could end up with motion blur.
- You can also adjust your aperture to control the depth of field in your photo. A wider aperture (lower f-number) will give you a shallower depth of field, while a narrower aperture (higher f-number) will give you a deeper depth of field.
9. Post-Processing.
Don't forget about post-processing. You can use editing software like lightroom, photoshop, and etc. to adjust the exposure, contrast, and other aspects of your photos to enhance the image’s light quality. Here's how:
- Use the exposure slider to adjust the overall brightness of your photo.
- Use the contrast slider to adjust the difference between the dark and light areas of your photo.
- Use the highlights and shadows sliders to adjust the bright and dark areas of your photo separately.
- Use the white balance tool to adjust the overall color balance of your photo. This can be especially useful if you were shooting in shade or golden hour and the color of the light has affected the color of your photo.
You don’t really need anything super professional. There are so many apps these days you can use on your phone if you don’t use a desktop.

10. Have Fun.
Sounds cliche, but it can be easy to forget especially for those who want to do this professionally. It’s good to remember why you started this in the first place. Find ways to branch out of your comfort zones. Try shooting different things, or use a different camera’s to keep your brain stimulated. Even for certain periods take a break from it. In the down times you will still and always remain a creative person. Living a life directly affects what you produce artistically.
Until next time beloved.
O